Raiden Web Interface Tutorial
The Raiden web interface (WebUI) helps you to interact with your Raiden node and aims to inspire to create own applications that utilize the Raiden REST API endpoints.
Run the Raiden web application
To run the WebUI you need to install Raiden and set up a Raiden node. The easiest way to do so is by using the quick start guide.
Once you have a Raiden node up and running the WebUI will be available on http://localhost:5001.
Manage UDC funds
On the top bar you can click the button next to the “UDC Deposit” to open a dialog for managing your funds in the User Deposit Contract. This dialog allows you to perform deposits and withdrawals. It will show you the amount of Raiden Network Tokens (RDN) you have on-chain, which are necessary for deposits.
For a deposit, click the “Deposit” button and enter the amount of RDN tokens you would like to have in the UDC. This will trigger all necessary on-chain transactions.
For a withdrawal, you first need to click “Plan Withdrawal”. After entering the amount of tokens you would like to withdraw, you have to wait for at least 100 blocks on-chain before you can perform the actual withdrawal. When these 100 blocks have passed, a “Withdraw” button will show up. Clicking it will trigger another on-chain transaction.
Note
What is the User Deposit Contract (UDC)?
The UDC is a smart contract where you deposit RDN (Raiden Network Tokens) for later paying the Raiden Services. For sending a mediated transfer it is even necessary to have RDN tokens in the UDC.
Join a Token Network
To make payments in Raiden you first need to join the network by opening channels for the token you want to make payments with. You can join a token network by either:
Note
What is a token?
Each token complies to its own ERC20 smart contract which has a total supply of tokens.
These token contracts are like a registry where different amounts of the total supply is mapped to different owners.
Note
What is a token network?
Anyone running a Raiden node and owns a token can join a network with other nodes who own the very same token.
All nodes registered within such network form a token network.
Quick Connect
Quick Connect lets you automatically open channels to nodes recommended by a Path Finding Service.
If you click the “Transfer” button without having any open channels for the selected token you will get prompted to use Quick Connect. Alternatively you can click the three dots on the top right of a token network view and choose “Quick Connect”.
When using Quick Connect:
Enter the total number of tokens you want to allocate
Distribute the token amount between the recommended partner nodes. Only if a deposit is selected for a node, a channel will be opened.
The amount you choose when connecting is what will be available for making payments. You can always add more funds by depositing to a channel.
Warning
Quick Connect is an on-chain activity that will consume some of your ETH. Opening fewer channels will reduce the gas cost proportionally.
You are now ready to make your first payment!
Registering a new token
Warning
Registering a new token is only relevant on the testnets. The tokens allowed on mainnet for the Coruscant release are DAI and W-ETH.
If you want to join the network for a token and that token is not displayed in the list of tokens it might mean that it has not been registered.
To register a token yourself:
Click “Select network” in the tokens view.
Click “Add new network”.
Enter the address of the token you’d like to register and click “Register”.
You can follow the steps for Quick Connect to join the network of your newly registered token.
Make a Payment
Payment channels allow for Raiden transfers to be made without the need to involve the actual blockchain. If you have one or more channels open you can start making payments. If you used Quick Connect three channels were automatically opened with three nodes.
Let’s walk through how to make a transfer.
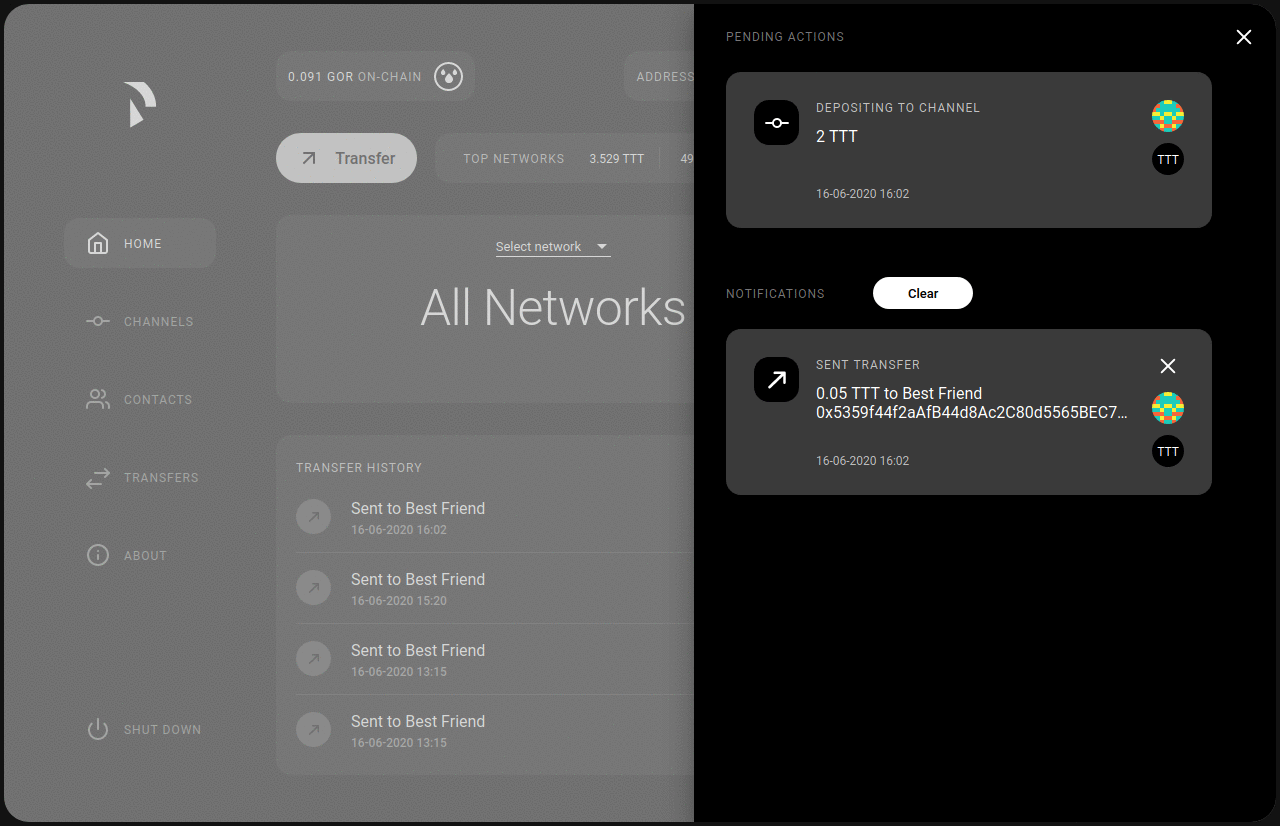
Transfer
After selecting a token network with open channels. Click on the “Transfer” button, this will bring open the transfer dialog.
If you accessed the transfer dialog from the all networks view, you can select the token network you want to make payments in also here.
Enter the receiving address.
Enter the amount.
Click “Send” to complete the transfer.
Note
Minting tokens
When running Raiden on a testnet the WebUI lets you mint tokens to fund your account with additional tokens.
To mint tokens, click the three dots on the top right of the token network view and choose “Mint”.
Minting tokens is an on-chain transaction that will consume some of your ETH.
Note
How do payment channels work?
Payment channels enable parties to exchange tokens off-chain without involving the blockchain for every transaction.
This helps to avoid the blockchain consensus bottleneck and makes transfers both faster and cheaper.
Raiden lets users pay anyone in the network by using a path of connected payment channels to mediate payments. This means that a user don’t need to open channels with every node they want to send payments to.
A payment channel in Raiden is always backed by an on-chain deposit of tokens. Depositing tokens or opening payment channels are on-chain transactions which require transaction fees (gas) that are paid in ETH.
Add More Tokens
At some point, you might need to top up your channels with tokens to be able to send more payments. You can allocate more tokens by depositing to a channel.
Deposit to a channel
Depositing tokens to a specific channel lets you allocate more funds to that channel. You can compare this to “topping up” a prepaid card.
In the “Channels” screen:
Click the three dots on the channel where you want to make the deposit and choose “Deposit”.
Enter an amount.
Click “Deposit”.
The amount you choose will be subtracted from your on-chain token balance and added to the channel balance.
Settle Payments and Close Channels
To get your tokens back on-chain you need to either withdraw them from a channel or close and settle the channel. You have a couple of ways for getting your tokens back on-chain:
Withdraw tokens
In the “Channels” screen:
Click the three dots on the channel from which you would like to make the withdraw and then the “Withdraw” button.
Enter the amount for your withdraw.
Click “Withdraw”.
The token amount will be added to your on-chain token balance. Your payment channel with the partner will remain open and you can continue exchanging payments (if your balance allows it).
Close a channel
If you don’t plan to use a specific channel anymore you can close it. A closed channel is no longer available for making payments.
In the “Channels” screen:
Click the three dots on the channel you wish to close and then the “Close Channel” button.
Click “Confirm” to finish closing the channel.
As soon as the channel is settled the token amount will be payed out in accordance to the transfers that have been made between the channel participants.
Note
When the channel is closed the settle timeout period will start. The channel is settled once the settle timeout period is over. The tokens can then be used on-chain.
Leave a token network
Leaving a network has the same outcome as closing a channel with the difference that all channels belonging to the network you’re leaving get closed.
In the “Transfers” screen:
Select the token network you wish to leave.
Click the three dots and then the “Leave network” button.
Click “Confirm” to finish leaving the network.